Getting Started
Jules is an experimental coding agent that helps you fix bugs, add documentation, and build new features. It integrates with GitHub, understands your codebase, and works asynchronously — so you can move on while it handles the task.
This guide will walk you through setting up Jules and running your first task.
- Visit jules.google.com.
- Sign in with your Google account.
- Accept the privacy notice (one‑time).
Connect GitHub
Section titled “Connect GitHub”Jules needs access to your repositories in order to work.
- Click Sync GitHub account.
- Complete the OAuth flow.
- Choose all or specific repos that you want to connect to Jules.
- You will be redirected back to Jules. If not, try refreshing the page.
Once connected, you’ll see a repo selector where you can select the repo you want Jules to work with, and a prompt input box.
Starting your first task
Section titled “Starting your first task”Jules runs in a virtual machine where it clones your code, installs dependencies, and modifies files.
- Pick a repository from the repo selector dropdown.
- Choose the branch you want Jules to work on. The default branch will be selected already. You do not have to modify this unlesss you want Jules to work on a specific branch.
- Write a clear, specific prompt. For example,
Add a test for "parseQueryStringfunction in utils.js - (Optional) Add environment setup scripts.
- Click Give me a plan
Once you submit a task, Jules will generate a plan. You can review and approve it before any code changes are made.

Enabling notifications
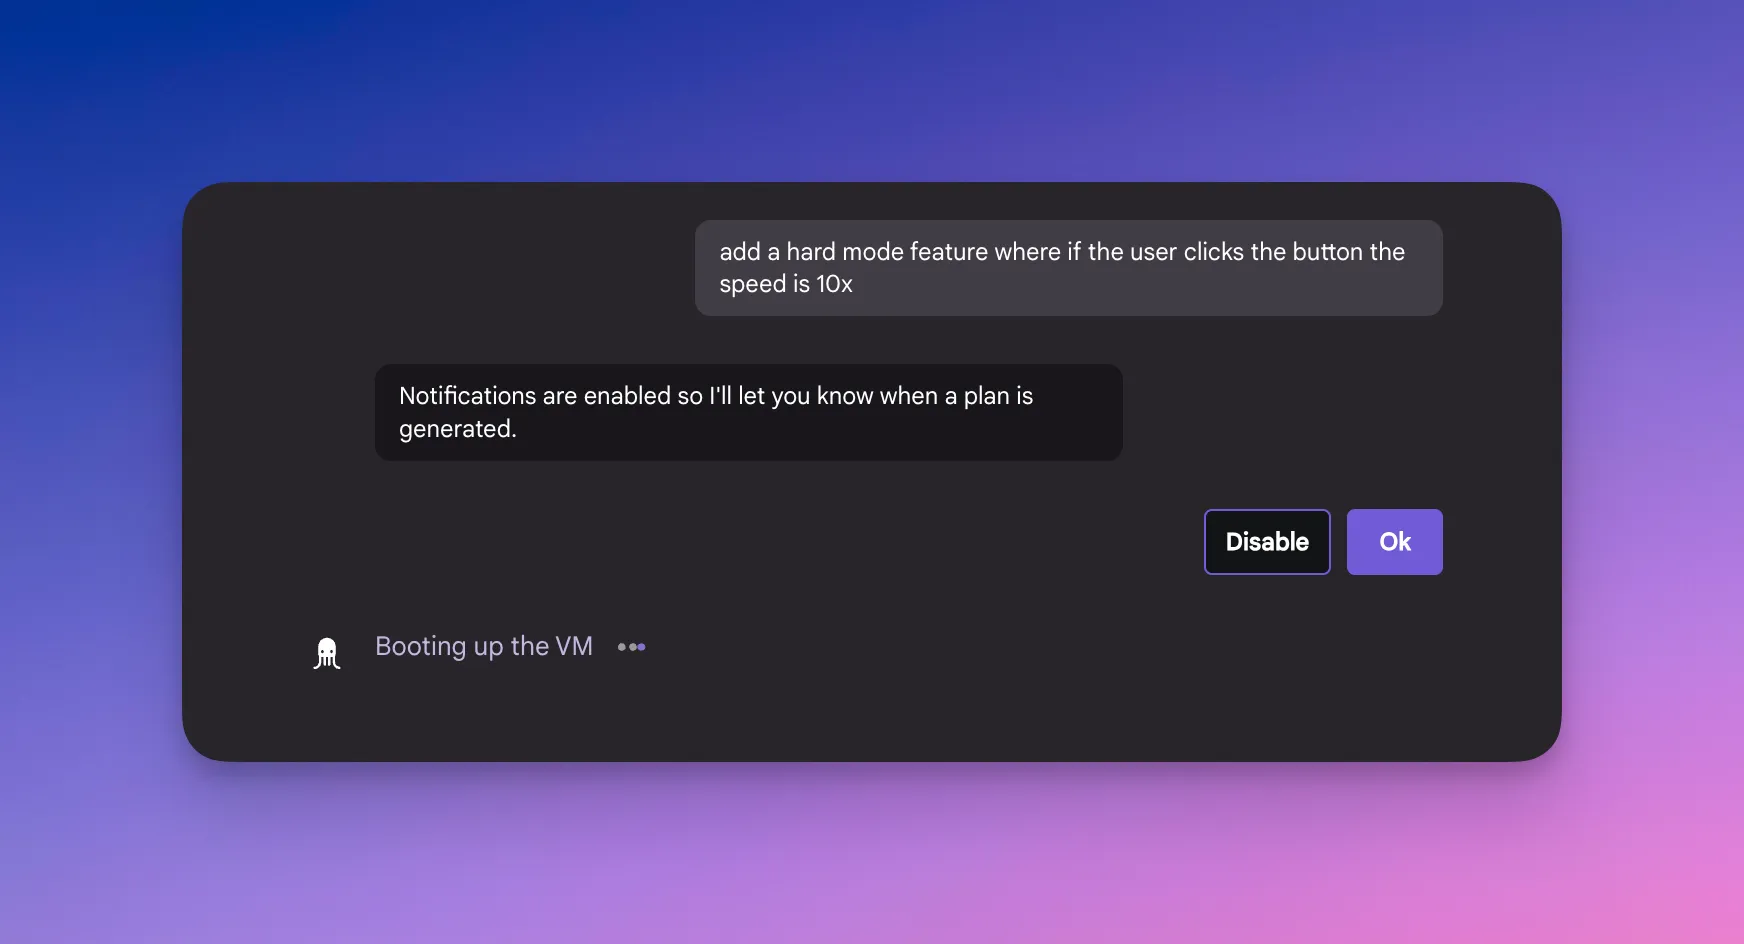
Section titled “Enabling notifications”You are free to leave Jules while it is running. To stay informed:
- When prompted, enable browser notifications.
- Or go to settings —> notifications at any time to enable or disable notifiations.
You’ll be notified when the task completes or needs your input.
What’s next?
Section titled “What’s next?”- Running a task with Jules - Full walkthrough
- Environment setup - Make Jules smarter about your project
- Reviewing plans & feedback - how to spprove and integrates
Want to dive into real-world use cases? Check out Templates & Use Cases.